

Solar Installation Process
Solar installation is less a construction project…
…and more a regulated sequence of engineering, permitting, and utility coordination.
The physical install?
Often finished in days.
The regulatory journey?
That’s what defines your timeline.
Homeowners who misunderstand this panic when projects appear “stalled.”
Experienced buyers understand something critical:
👉 When paperwork is moving, your project is moving.
This guide walks you through the true end-to-end lifecycle, from signing your contract to receiving Permission to Operate (PTO) — the moment your system is legally allowed to power your home.
Executive Timeline Snapshot
Anchor expectations early:
Phase | Typical Duration |
Site evaluation + design | 1–3 weeks |
Engineering + permitting | 2–8 weeks |
Utility interconnection review | 2–10 weeks |
Physical installation | 1–3 days |
Inspection + PTO | 1–6 weeks |
👉 Common total timeline: 2–4 months
👉 Complex jurisdictions: 4–6+ months
Industry deployment patterns consistently show that permitting and interconnection — not installation — are the longest phases of residential solar projects.
Understanding this alone removes most homeowner anxiety.
Master Timeline (Visual Anchor Recommended)
VA NOTE: Insert a horizontal timeline graphic:
Contract → Engineering → Permits → Utility Approval → Install → Inspection → PTO
Alt text: solar installation process timeline from permit to PTO
Process visualization increases comprehension and reduces bounce — especially on infrastructure topics.
Step 1 — Site Evaluation (Where Good Projects Begin)
Every successful solar project starts with a clear understanding of your home’s energy and structural profile.
Installers evaluate:
- roof orientation
- shading patterns
- structural integrity
- electrical panel capacity
- historical energy consumption
Modern satellite modeling often provides highly accurate production estimates before physical inspection.
If you don’t yet understand your usage:
Sizing errors originate here — and they echo for decades.
Precision beats optimism.
Step 2 — System Design & Engineering
This phase converts your home into an energy model.
Engineers determine:
- optimal system size
- panel layout
- inverter strategy
- load pathways
- structural load tolerance
Good engineering balances four things:
✔ production
✔ safety
✔ longevity
✔ aesthetics
Shortcuts taken here rarely age well over a 25–30 year system life.
Step 3 — Permitting (The Invisible Timeline Driver)
Permitting is where many homeowners first feel friction.
Not because something is wrong — but because jurisdictions vary dramatically.
Some approve in days.
Others require weeks.
Permit packages typically include:
- structural calculations
- electrical diagrams
- fire setback compliance
- equipment certifications
Executive Shortcut
If permitting exceeds 6–8 weeks, expect your total project timeline to stretch beyond four months.
This is normal — not a red flag.
Step 4 — Utility Interconnection Review
Before your system is energized, the utility must approve its connection to the grid.
This protects infrastructure stability.
Your installer submits:
- system specifications
- inverter certifications
- load calculations
- site diagrams
Approval timelines depend heavily on regional backlog.
Important: Many homeowners mistake this phase for installer inactivity.
It is regulatory — not operational.
Because utility policy shapes solar economics, it’s smart to understand local incentive structures early:
Utilities influence both activation speed and long-term ROI.
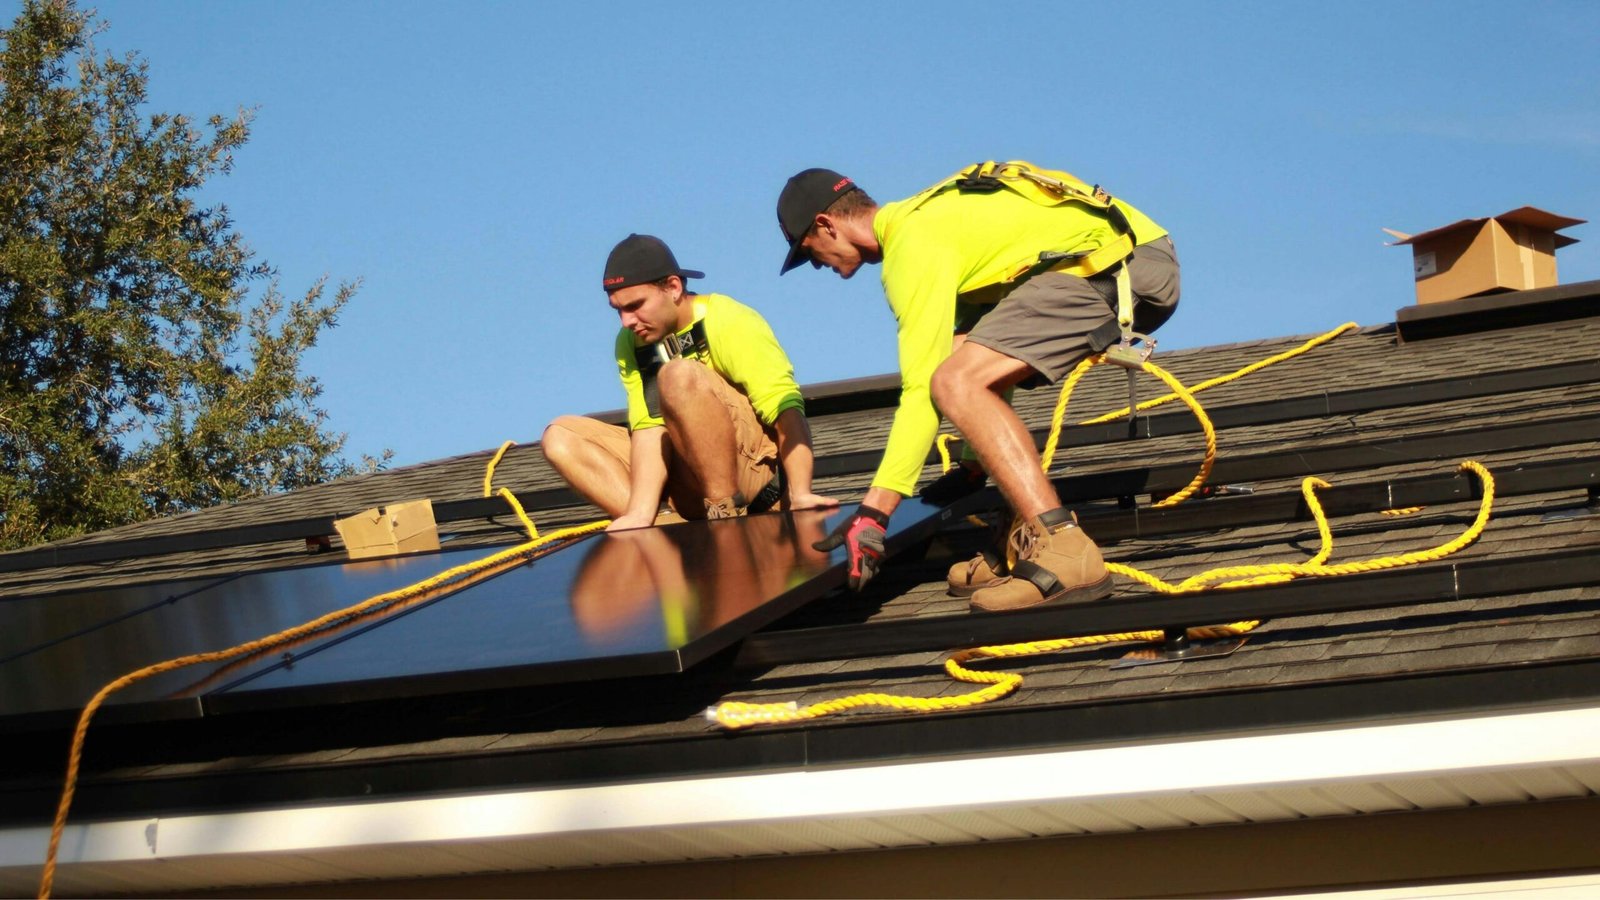
Step 5 — Installation Day (Visible Momentum at Last)
Once approvals land, progress becomes tangible.
Most residential installs complete within 1–3 days.
Typical sequence:
1️⃣ Mount racking
2️⃣ Secure panels
3️⃣ Complete wiring
4️⃣ Install inverter
5️⃣ Tie into the electrical panel
Expect brief power interruptions during integration.
Professional crews prioritize structural integrity and electrical safety — not raw speed.
Step 6 — Inspection
After installation, a local inspector verifies compliance with building and electrical codes.
Inspection checkpoints often include:
- grounding
- wiring standards
- mounting security
- labeling
- code adherence
This step protects both homeowner and utility.
Passing inspection moves you toward activation.
Step 7 — Permission to Operate (PTO)
This is the milestone that actually matters.
Until PTO is granted:
👉 your system typically cannot export power.
Utilities issue PTO once they confirm safe grid integration.
Many homeowners celebrate installation day.
Experienced buyers celebrate PTO.

Can You Use Solar Before PTO?
Generally — no.
Operating a system before authorization can violate utility rules and delay approval.
Patience here prevents administrative resets.
Where Solar Installations Go Wrong
High-performing infrastructure guides acknowledge risk.
Here are the most common disruption points:
Poor structural review
Late roof issues trigger redesigns.
Rushed permitting packages
Errors restart approval clocks.
Installer backlog
Demand spikes strain scheduling.
Electrical surprises
Older panels sometimes require upgrades.
HOA conflicts
Architectural approval can delay progress.
Preparation prevents expensive pauses.
Solar Installation Requirements (Confirm Early)
Before moving forward, validate:
✔ Roof condition — replacing a roof after installation is costly.
✔ Electrical panel capacity — upgrades affect timelines.
✔ Sun exposure — heavy shade weakens returns.
✔ Ownership clarity — shared roofs introduce complexity.
Early clarity avoids mid-project redesign.
When Is the Best Time to Install Solar?
Contrary to popular belief, summer is not always optimal.
Fall and winter installs often move faster due to reduced installer demand.
But timing should be driven primarily by:
- incentive windows
- financing conditions
- rising utility rates
Waiting for “perfect weather” rarely improves ROI.
The Installation Checklist Smart Buyers Use
Before signing:
- Confirm system size assumptions
- Benchmark cost per watt
- Validate incentives
- Understand financing terms
- Verify installer credentials
- Review production estimates
If you haven’t anchored pricing yet:
Clarity compounds.
Executive Insight Most Homeowners Learn Too Late
Solar is not primarily a construction project.
It is a regulated infrastructure deployment influenced by institutions.
Which means:
Timelines are shaped by approval layers — not installer urgency.
The smoother your documentation, the smoother your project.
What This Page Is — And What It Isn’t
This page IS:
- your installation roadmap
- your delay decoder
- your expectation calibrator
This page is NOT:
- a guaranteed timeline
- a substitute for engineering
- a project quote
Use it to stay informed — not anxious.
Where Smart Buyers Go Next
Build your decision stack in this order:
👉 Solar Panel System Cost
👉 Solar Incentives by State
Then proceed with confidence.
FAQs
How long does solar installation typically take?
Most residential projects complete within roughly 2–4 months, though permitting and interconnection can extend timelines.
What is Permission to Operate (PTO)?
PTO is the utility’s authorization allowing your solar system to connect to the grid and begin exporting electricity.
Can I use my system before PTO?
Generally no. Operating early can violate utility requirements and delay approval.
Is the installation itself disruptive?
Usually not — most physical installs finish within a few days.
Should I replace my roof before installing solar?
If your roof is nearing end-of-life, replacement beforehand often prevents costly removal later.